This week’s theme for the 52 Week Project was flare. The goal was to create a flare with a series of different lenses, so as to know how each lens would create flare and how to work around it. The lenses chosen were the 10-24mm, the 85mm & 28mm freelens all mounted on my Nikon D750.
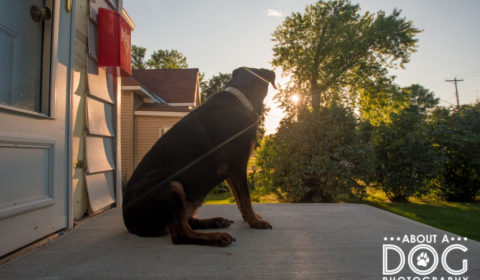
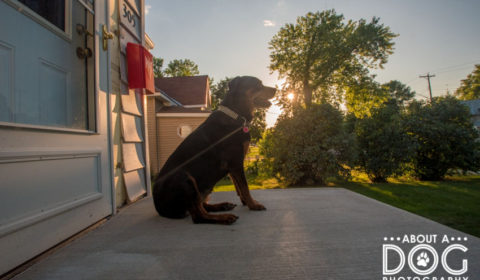
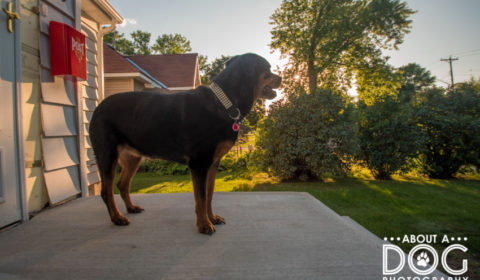
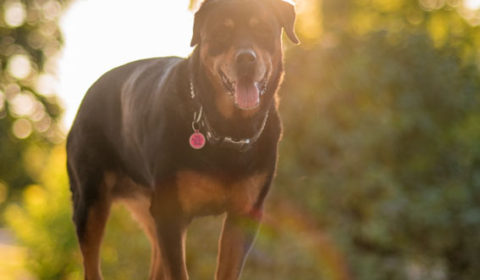
First up, the 10-24mm – aka the creakasaurus.
Not nearly as much flare as I would have expected! This lens is made by Tamron and a bit of a middle of the road lens (it is designed for crop sensors – but works on a full frame!). The lack of flare means Tamron has a solid handle on their lens coatings which helps to negate flares (I also had a circular polarizer on, not sure if that would make a difference….). At least I got a cute little sunburst from shooting stopped down at f9! The lens is called creakasaurus because it is MEGA noisy when it autofocuses – it fell to the floor of a Jeep, and ever since it makes an awful racket. Really fun when you’re in a quiet area…. haha!
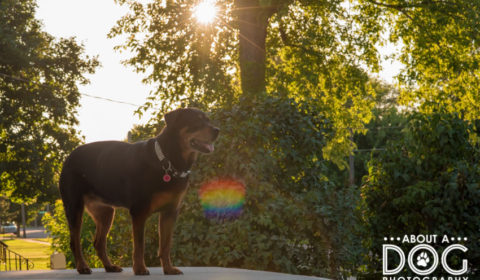
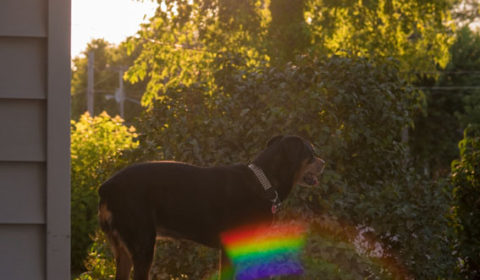
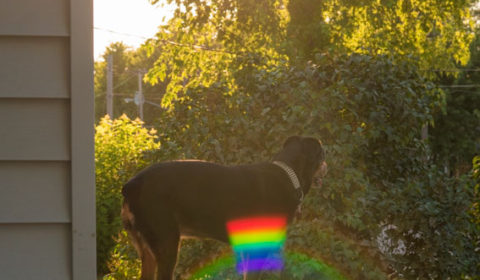
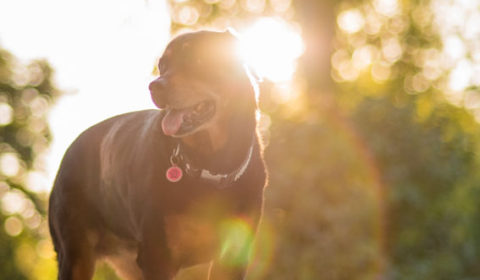
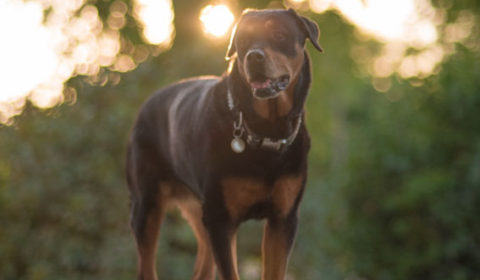
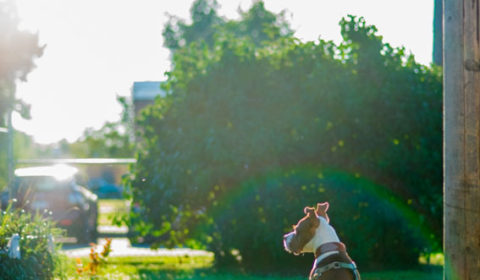
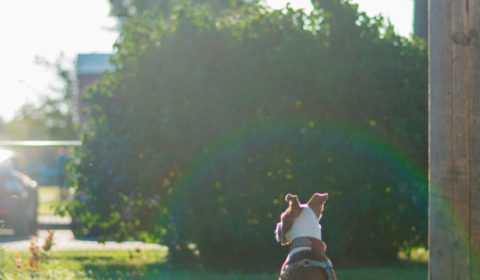
Next up was the new to me 85mm f1.8 D. Snagged it used on Ebay, its original owner purchased it new in 1999! This means the coatings on the glass are older (at least 17 years old!) and more prone to create a flare. And boy did it!
Giant rainbow flares! Wide open and stopped down! What a treat (though if I didn’t want the flares, what a mess!). This lens also trends towards a very heavy blue tone, all correctable in lightroom.
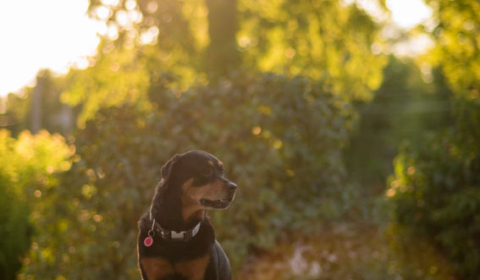
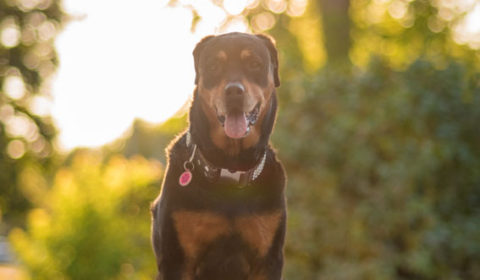
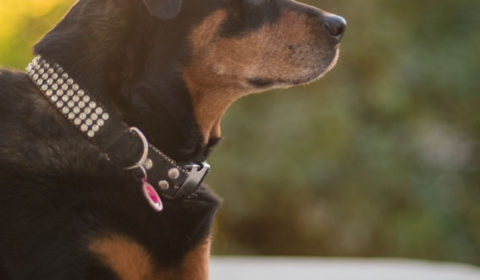
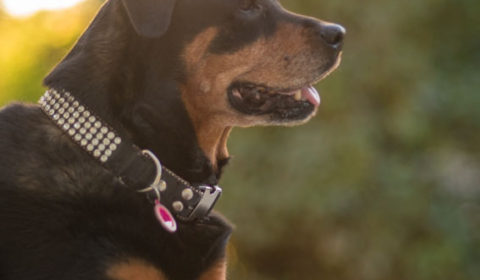
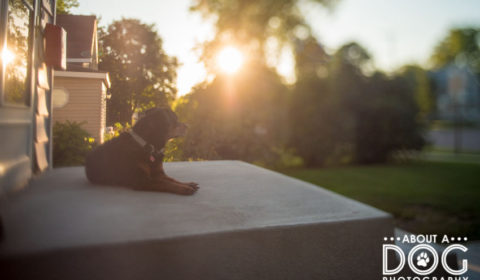
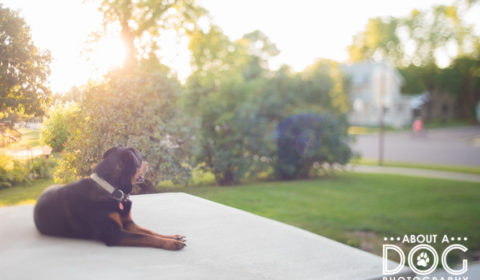
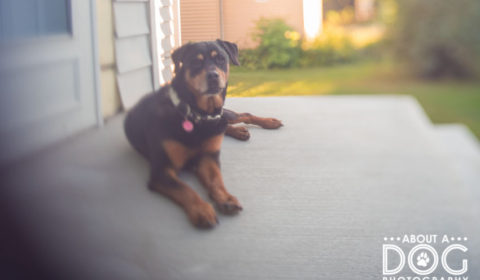
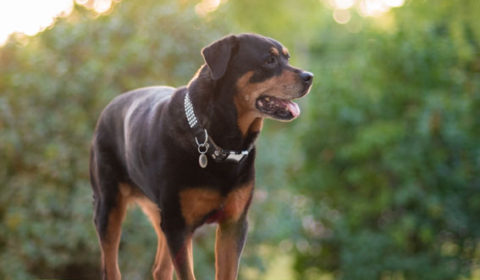
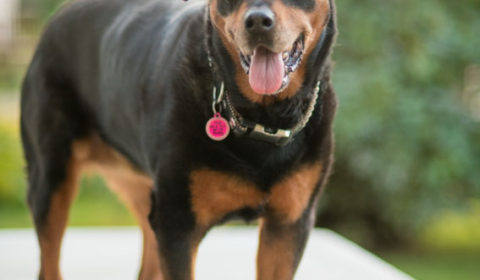
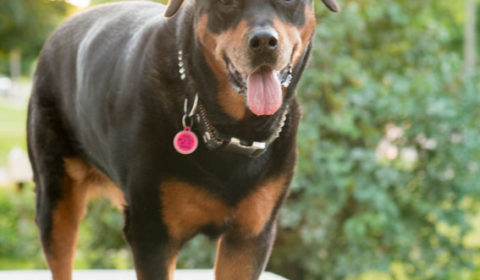
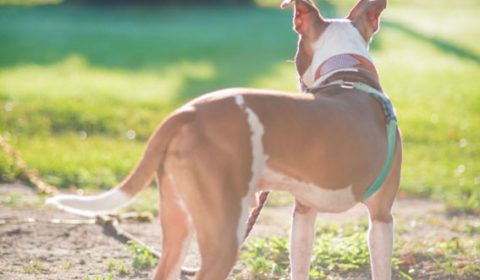
The 28mm freelens was up next. Freelensing is holding the unmounted lens in front of your camera. This allows you to manipulate the in focus areas similar to a tilt shift lens. Plus there’s the chance of light leaks and flares happening! This particular freelens is a Tamron Adaptall 2 with the adapting mount removed (in most cases you need to remove the rear mount of the lens so you are able to get it closer to the sensor so your camera can “see” through it).
Freelensing is very challenging with dogs (or anything that moves) because you are manually focusing a very narrow area that can be changed with the tiniest tilt or shift from you or the dog. There are some very tiny minor flares on the right side of the image (I was kinda thinking there may be more…) – not sure if this was due to the lens being used as a freelens or if it was due to the lens (this is a vintage lens, possibly from the 70s or older).
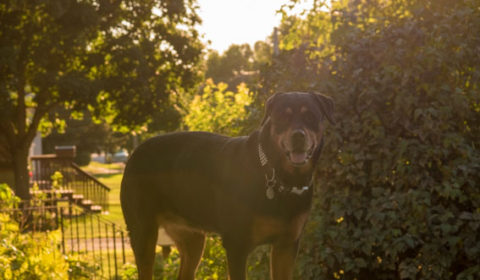
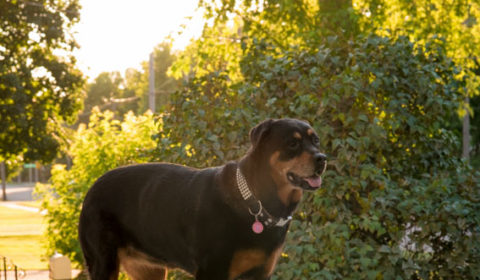
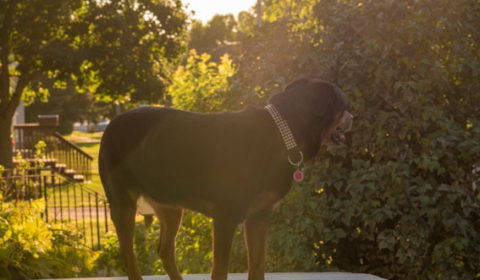
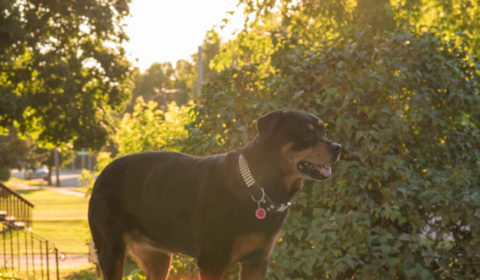
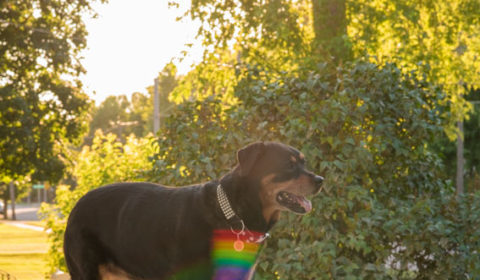
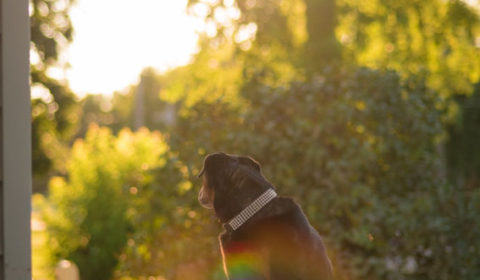
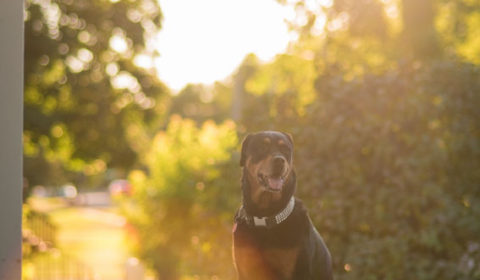
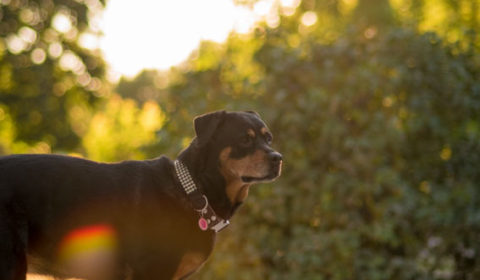
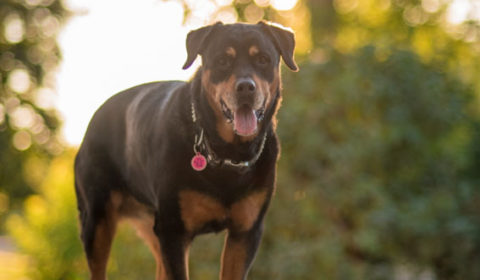
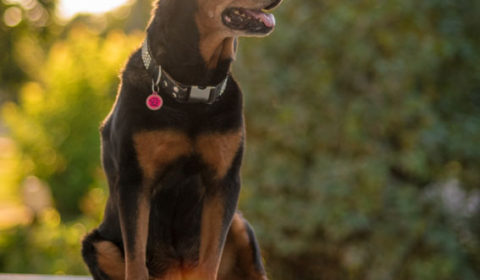
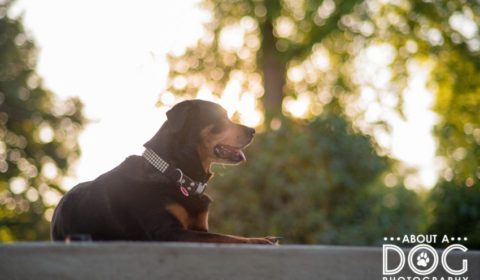
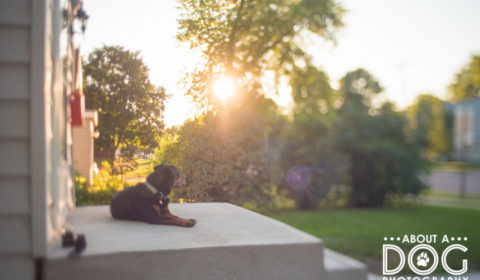
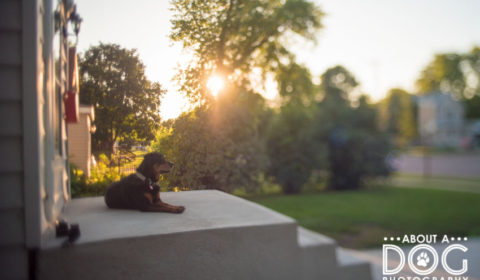
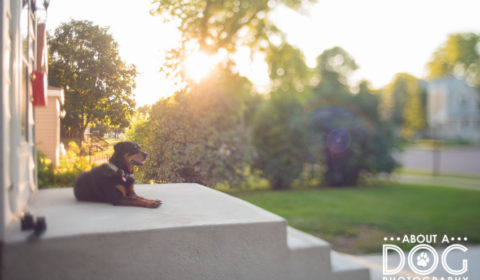
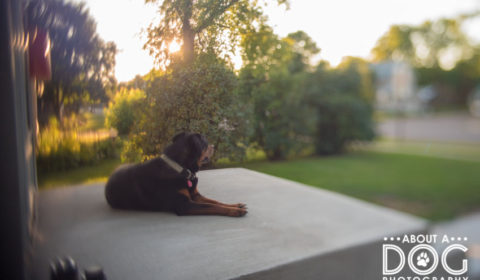
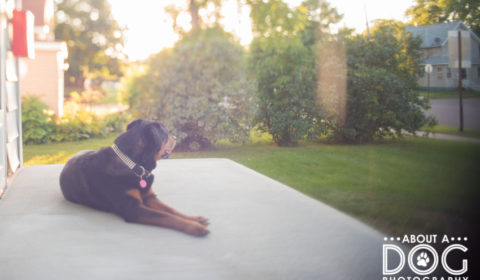
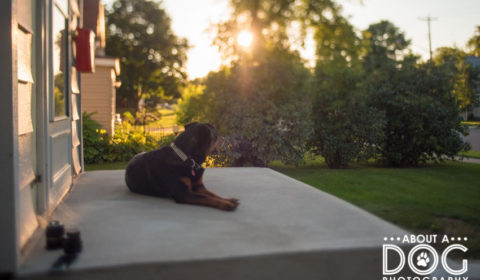
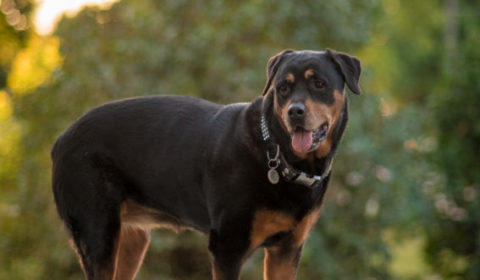
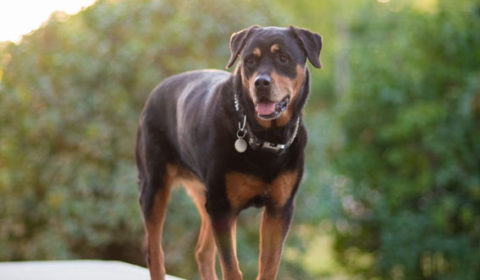
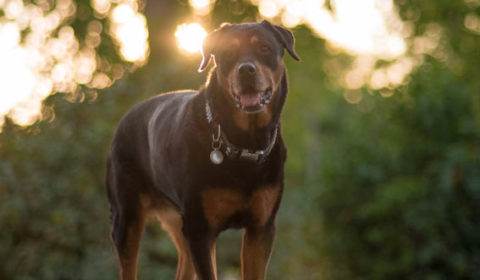
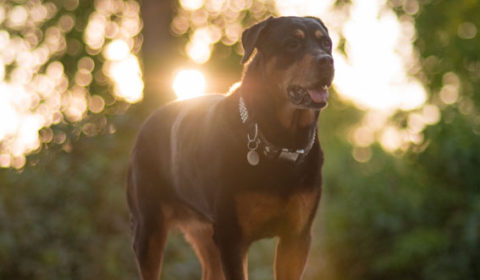
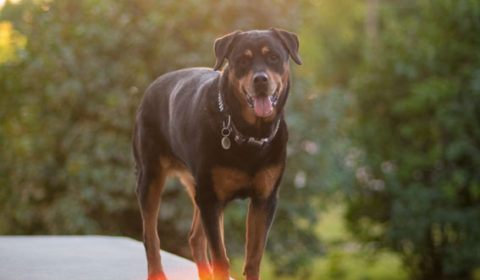
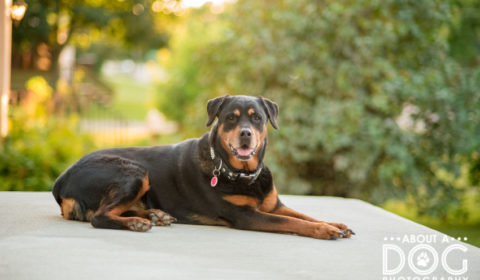
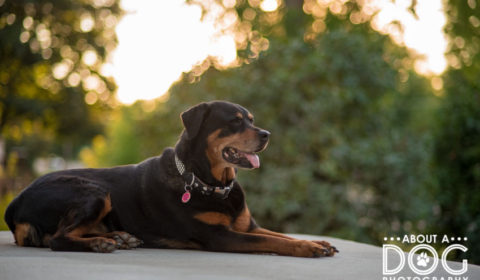
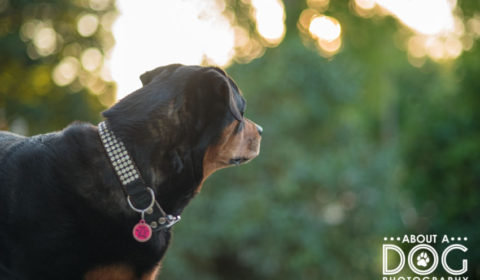
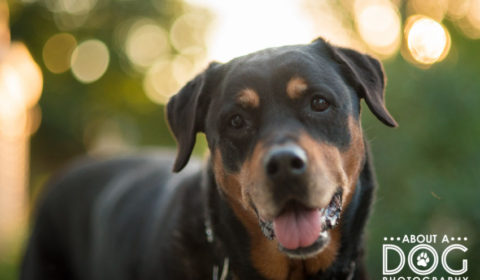
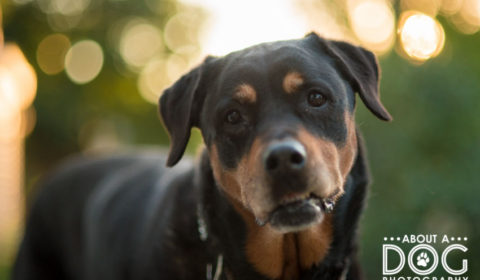
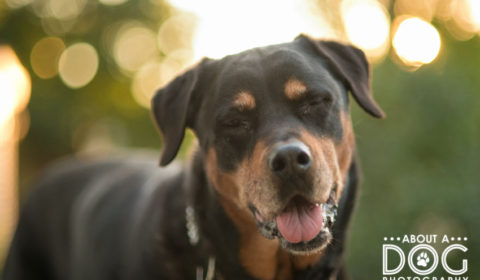
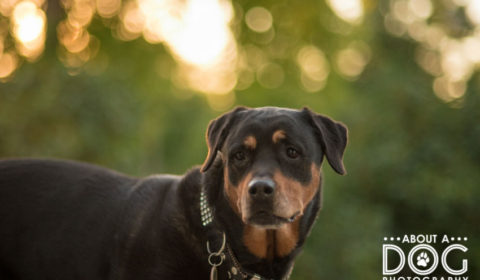
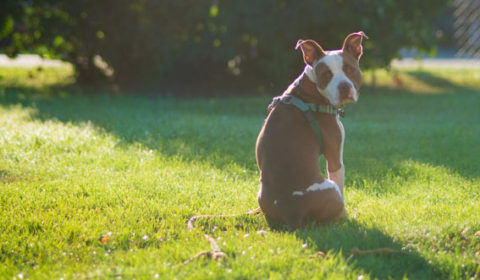
Since the 85mm was throwing some very solid flares, it was remounted and I continued to see how I could force them and manipulate the flares. Plus the bokeh on the lens is very pretty 🙂
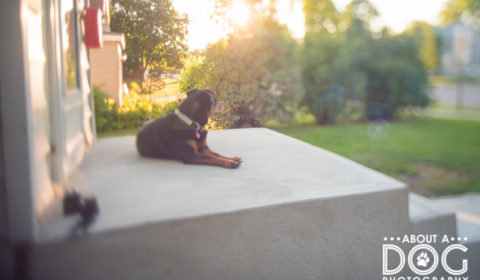
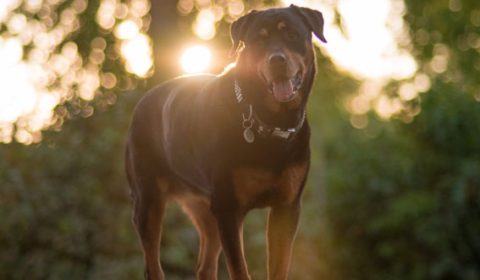
The following morning, the 85mm & I adventured outside in our pjs and Bender to see how the flare was in the morning. Oofda! That’s a lot of light! But the flare was kind of neat as it framed Bender.
Next up visit Pet Love Photography, serving Greater Cincinnati and the San Francisco Bay Area and see how she managed to capture flares!

Love the ones with all the bokeh. Beautiful! It was fun to see the images taken with freelensing, too. :O)
I’ve never tried freelensing, so kudos on those great images doing it. Also, love that 85mm lens and how you worked with it to harness the flare without all the rainbow artifacts.
I learned something new. I’ve never heard of a freelens before reading your post. Using that had to be a challenge. Nice job- I always love seeing all of your photos.
Pingback: See Spot Run LLC – Dog Walking and Pet Photography Blog Pet Photography Project 52, week 32: Lens Flare - See Spot Run LLC - Dog Walking and Pet Photography Blog